Moonlight – Play PC (Steam) Games on PS Vita via Remote Play

This guide will show you how to use the Moonlight application by xyzz for PS Vita, this will allow you to play PC and Steam games on your PS Vita via remote play using the Nvidia GameStream technology. Moonlight is a project to port the Nvidia GameStream platform to various devices and operating systems such as iOS, Android and ChromeOS.
The PS Vita version greatly shows off he console’s potential, the gamepad buttons are already configured making it very easy to jump in play games with very little setup. In addition to PC games, Moonlight is also compatible with emulators such as Dolphin or PCSX2 to play Wii or PS2 games on your PS Vita without heavily relying on the system’s processing power.
The main drawback of the PS Vita version of Moonlight is that you will have to depend on its relatively weak Wi-Fi card, forcing you to limit your range and video quality for smoother gameplay. All in all, Moonlight is a great addition to any hacked PS Vita and will grant you the ability play games that would not otherwise be playable on the device.
Required Downloads:
PlayStation Vita with Custom Firmware
PS Vita 1000 (Fat) Models require an official Sony Memory Card to install homebrew
Local Wi-Fi connection
- Your PC will stream content to your PS Vita using the Wi-Fi connection
Windows PC with Nvidia GTX 650 or Higher Graphics Card
- Nvidia GameStream is only compatible with the GTX 650 or better, check your Nvidia GPU’s manual if you are unsure
Nividia GeForce Experience Installed on PC
- Nvidia GameStream is part of the GeForce Experience Windows application
Installing Moonlight
Moonlight can be easily installed without a PC using the Vita Homebrew Browser, a large repository for homebrew apps that can be downloaded directly to your Vita.
- On your PS Vita, launch VitaShell and press the [Select] button to activate FTP or USB mode
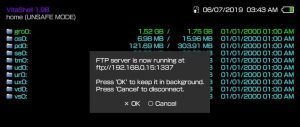
In VitaShell, press [Start] and select [SELECT button] to toggle between FTP and USB mode.
- For FTP mode: enter the address displayed on your PS Vita in your PC file browser e.g.
ftp://xxx.xxx.x.x:1337 - For USB mode: connect your USB to your computer and it will function as a USB storage device
- SD2Vita: simply connect your MicroSD card to your PC and transfer the files without VitaShell

- For FTP mode: enter the address displayed on your PS Vita in your PC file browser e.g.
- On your PC file browser, go to
ux0:and create a folder calledvpkif it doesn’t already exist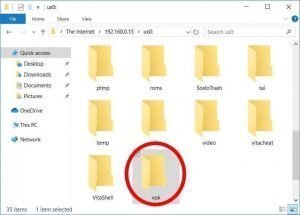
- Transfer
Moonlight.vpkto theux0:/vpk/folder on your PS Vita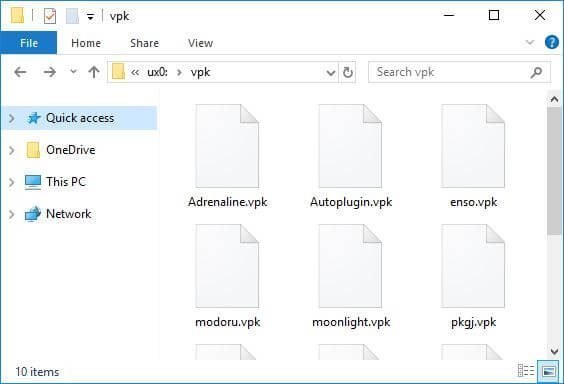
- When the transfer is complete, press [Circle] on your PS Vita to close FTP/USB mode
- In VitaShell, go to
ux0:->/vpk/then highlightMoonlight.vpk - Press [Cross] to install it and confirm the extended permissions prompt.
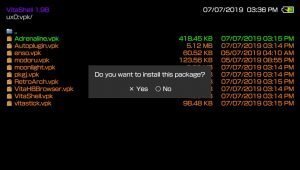
- Close VitaShell when the installation is complete
- Make a note of the IP address that your PS Vita displays when you enter FTP mode in VitaShell
Configuring Moonlight
You will need to find your PC’s IP address so you can pair it with your PS Vita using NVidia GameStream as part of the GeForce Experience application.
- On your PC, go to [Start/Windows] -> search [Run] and press enter
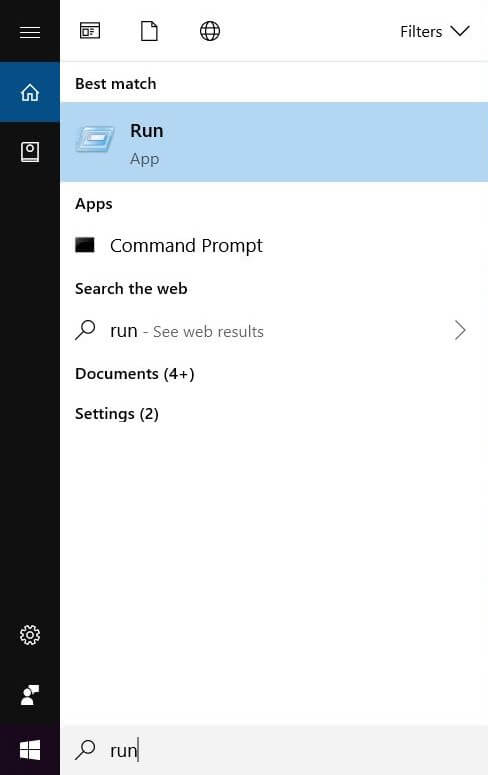
- Type
cmdand press Enter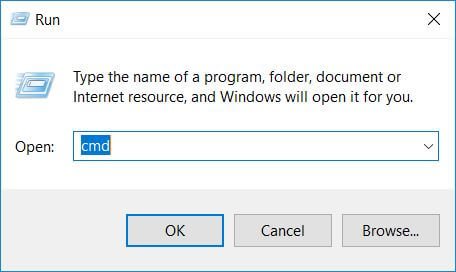
- Type
ipconfigin the Command Prompt window and press Enter
- Make a note of the
IPv4 address– this is your local IP address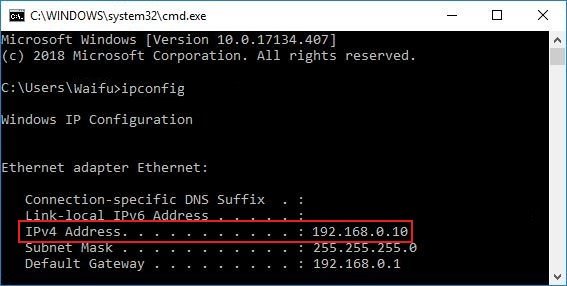
- Open GeForce Experience on your PC and login using your Nvidia account
- Go to the [Preferences] tab and select [SHIELD] from the left menu
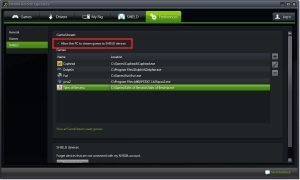
- Enable [Allow this PC to stream games to SHIELD devices]
- On your PS Vita, launch the new [Moonlight] bubble in your LiveArea

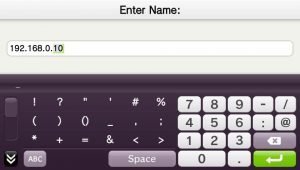
- Select [Add manually] and enter your PC’s IP address or choose your PC from [Search devices]
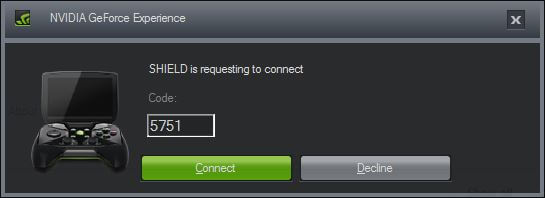
- Your PS Vita will display a pairing code and your PC will request the code

- Enter your PS Vita code into the PC pop-up window
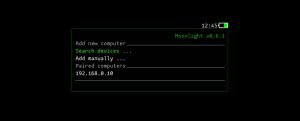
- Your PS Vita will now be able to connect to your PC from the Moonlight main menu
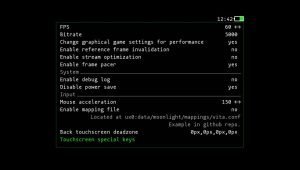
- Press down the d-pad to find the Settings for many customisation options; you can configure the resolution, framerate, bitrate, configure the touchscreen and more
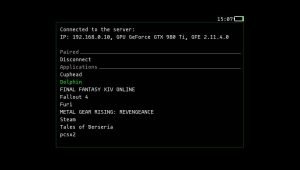
- Select your PC and choose the game that you wish to play on the PS Vita, the game will automatically launch on the PC

Congratulations, you’ve now installed and setup Moonlight with Nvidia GameStream. Your PS Vita will be configured automatically to function as an XBOX 360 controller with the buttons already mapped.
The rear touchpad is mapped to buttons by default and may unintentionally interfere with your gameplay depending on how you hold the PS Vita. You can disable the rear touchpad temporarily using the WDNR plugin; install WDNR using the Autoplugin app.
Adding PC Games
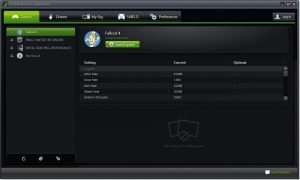
Your GameStream compatible games will be in the GeForce Experience window on your PC. Go to the [Game] tab to see your list of games.
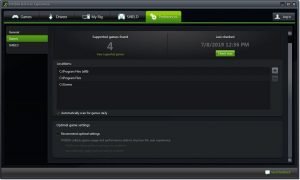
To configure which directories GeForce Experience scans for games. Go to the [Preferences] tab and select the [Games] menu from the left
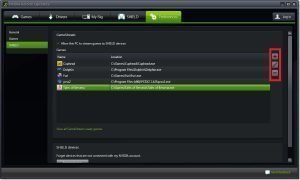
Add your own games that are not directly compatible with GameStream in the [Preferences] -> [SHIELD] menu. Just select the executable (.exe) for the game to add it to GameStream.
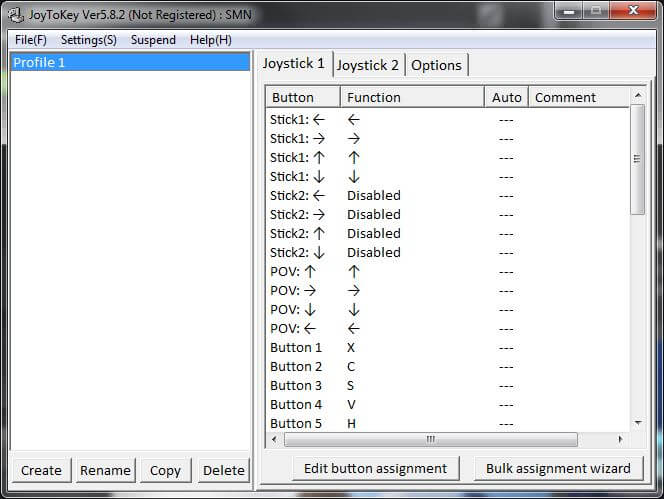
Although Moonlight will emulator a XBOX 360 controller, not all PC games are compatible with game controllers. Your mouse and keyboard keys can be mapped to the PS Vita buttons using the JoyToKey application.
Playing Steam Games
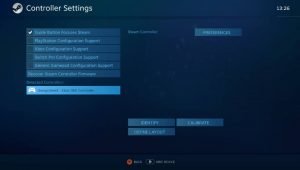
If you’d like to play games from your Steam library, choose [Steam] from the Moonlight stream menu on your PS Vita. You will need to sign into your Steam account.
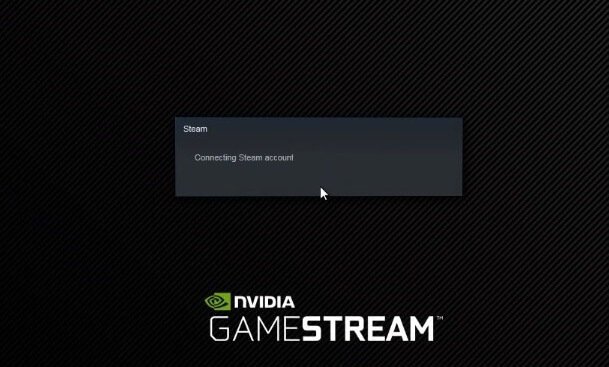
Steam will load up in Big Picture mode, you can then start any of your games directly from the Steam library
Go to [Settings] -> [Controller Settings] -> [Define Layout] to remap your buttons specifically for Steam games
Your PS Vita will function as a XBOX 360 controller for Steam games
Emulators with Moonlight
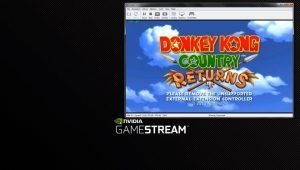
You can also play with emulators such as PCSX2 or Dolphin on your PS Vita using Moonlight. Add your emulator’s executable (.exe) to the games list in GeForce Experience. Go to the [Preferences] tab -> [SHIELD] menu

Launch your emulator from the Moonlight menu and wait for the emulator to launch on your PC. You will need to confirm on your PC if your emulator is set to run as administrator. Your PS Vita will function as a XBOX 360 controller but you may need to configure your controller mapping in the emulator’s settings
Gaming with PS Vita
VitaStick
- You can use your Vita as a USB controller without remote play using the VitaStick app and plugin by xerpi
PlayStation 4 Remote Play
- You can use your PS Vita to play PS4 games via remote play
RetroArch
- In addition to streaming PC games, the PS Vita can emulate older systems such as GameBoy Advance or Sega Genesis using the RetroArch emulator package
Adrenaline
- Adrenaline unlocks the built in PSP emulator for flawless PSP and PSX gameplay and is also compatible with PSP homebrew